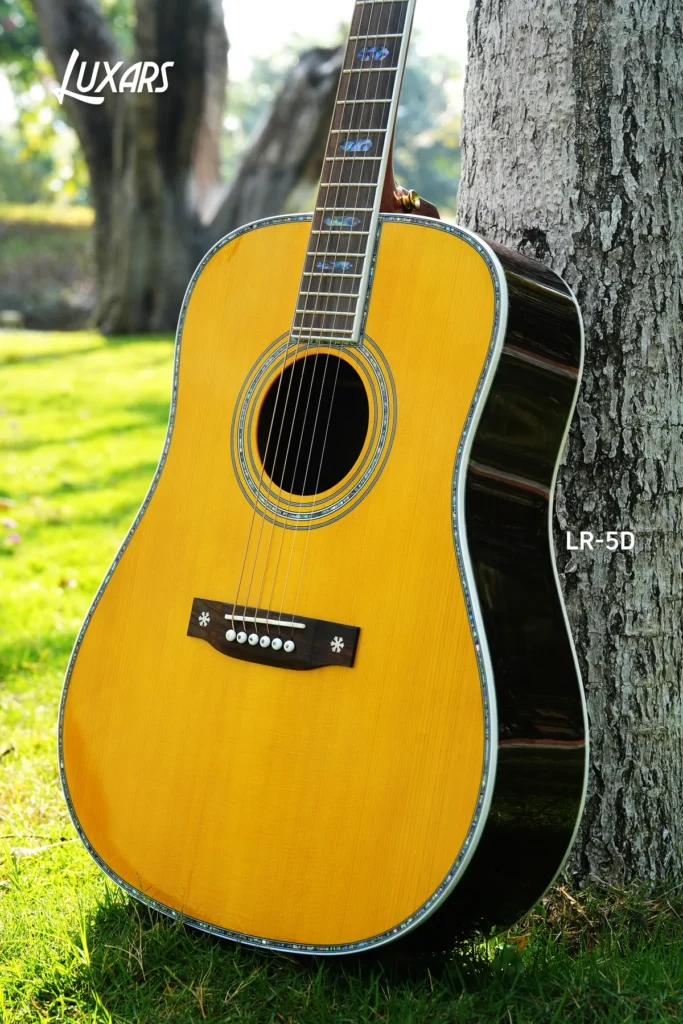
A guitar sample is more than a product to photograph or play for a few minutes. For a wholesale buyer, it is the physical reference that connects the product specification, quotation, packaging plan and eventual order. A useful approval process therefore checks what the guitar is, how it performs, what may be adjusted and which details must remain unchanged.
The short answer is to inspect the sample in a fixed sequence: confirm its identity and documents, record its as-received condition, check construction and finish, measure setup-related points, test every functional component, review packaging and then issue a dated decision. Approve only the details you can identify. If a point is unclear, record it as an open item instead of assuming that it will be corrected later.

Why a quick play test is not enough
A guitar can feel acceptable in one room and still be an incomplete wholesale reference. Action is influenced by neck relief, fret condition, nut height, bridge adjustment, string gauge, tuning and climate. An electric guitar may produce sound while one switch position, control or output connection remains faulty. A classical guitar may look similar to an acoustic model in a front photograph while its scale, nut width, string type and neck profile serve a different user.
The sample also has a commercial role. It may be used to prepare product images, train sales staff, create an online listing or approve package contents. If the model code on the quotation differs from the label on the carton, or if the photographed controls do not match the written specification, the resulting problem is not only technical. It can spread into purchasing, receiving and customer support.
For that reason, sample approval should answer three separate questions:
- Does this instrument match the latest agreed product description?
- Is the instrument functional and suitable for its intended market role?
- Is there enough written and visual evidence to use this sample as a repeatable reference?
Build the reference file before opening the carton
Start with the documents, not the guitar. Create one folder or controlled record for the sample and place the latest files inside it. A practical reference set normally includes:
- model code and instrument category;
- dated specification or product sheet;
- quotation version;
- approved finish or colour reference;
- logo and label artwork, where relevant;
- list of included accessories;
- packaging layout or package-content list;
- written changes made after the original request;
- the buyer's intended customer, channel and product role.
Give the sample a revision name. “Sample 2, reviewed 13 September” is more useful than “the blue guitar,” especially when several finishes or configurations share a body shape. If a later adjustment is approved, keep the earlier record rather than replacing it without explanation.
The sample should be compared with the correct document version. A frequent process failure occurs when a buyer comments on one guitar while the supplier's team is reading notes from another version. One clear identifier prevents that confusion.
Record the as-received condition
Before tuning, cleaning or adjusting the guitar, photograph the closed carton, shipping label, inner protection, included items and the instrument as it was packed. This does not need to become a large photo archive. A small, consistent set is enough to show whether the package arrived intact and whether the guitar moved during transit.
Record the arrival date and the approximate environment in which the inspection takes place. Wood, strings and neck geometry respond to changes in temperature and humidity. A guitar that has moved between substantially different environments may need time to stabilize before its setup is judged. Do not use one universal waiting time for every route and product; define a reasonable acclimatization method with the supplier or a qualified technician.
Most importantly, do not make an adjustment merely to make the sample pass before recording the original condition. If the neck relief, action or intonation is changed, note the before-and-after values, the tool used and the person who made the adjustment. The resulting record is far more useful than a message saying that the guitar is now “good.”
Inspect identity, construction and workmanship
Begin with the broadest checks. Confirm the model code, category, handedness, finish and visible configuration. Compare the headstock, body shape, bridge, tuners, pickups and controls with the product sheet and approved images. Check that any logo, label or model marking is correctly positioned and legible.
Then inspect workmanship under consistent, neutral lighting. Review the body, neck, fingerboard, frets, binding, joints, finish edges and hardware installation. Look from several angles rather than relying on a front view. Reflections across a gloss finish can reveal surface irregularities; side views can show gaps, lifted edges or hardware that is not seated correctly.
For acoustic and classical guitars, inspect the bridge area, top, heel, neck joint and visible internal surfaces. A small mirror and light can help with an internal visual check, but a buyer should not claim an internal material or bracing detail from a photograph alone. Those facts must come from the approved specification.
For an electric guitar, inspect the neck joint or set-neck transition, bridge alignment, pickup mounting, control hardware and output jack. Hardware should be secure without tool marks or damage around the installation points. A visual check cannot prove electrical function, so keep the function test as a separate step.
Measure setup as a connected system
Neck relief, action, nut condition, fret level and intonation interact. They should not be treated as isolated numbers copied from an unrelated model. Fender's maintenance guidance, for example, explains that action is the string height above the fingerboard and that lowering it can increase the possibility of fret buzz. Its intonation guidance compares a fretted note with the related harmonic and notes that setup and climate can affect the result. Those principles are useful, but the acceptance values for a wholesale sample should come from the approved product requirement.
Use a tuner, capo, feeler gauge, accurate rule and the tools appropriate to the bridge and truss-rod design. Record at least:
- string type and gauge, if confirmed;
- tuning used during the test;
- neck relief and the measurement method;
- action on the bass and treble sides at the agreed fret;
- first-position feel and any nut binding or open-string buzz;
- fret buzz, dead notes or choking across the neck;
- intonation result for adjustable instruments;
- pickup height or bridge position where it is a controlled specification.
Do not turn the article or inspection form into a collection of universal “perfect” measurements. A classical guitar, steel-string acoustic and electric guitar have different designs and customer expectations. Player attack, string gauge, tuning and climate also change what is practical. The wholesale objective is consistency with the approved sample and stated setup standard, not the lowest possible action.
If a truss-rod or bridge adjustment is needed, have a competent person perform it. Record whether the issue was a normal setup correction or evidence of a structural or component problem. That distinction matters later: a minor setup adjustment may be acceptable, while a neck angle, fret or hardware problem may require a new sample.
Check frets, nut, tuners and playing response
Play every fret on every string at a consistent attack. Listen for isolated dead notes, persistent buzz and notes that choke during normal bends where the instrument is designed for that technique. Run a hand carefully along both fingerboard edges to detect sharp fret ends. Inspect fret seating, crowns and visible tool marks.
Tune up slowly and observe the nut and tuners. Pinging, sudden pitch jumps or difficulty returning to pitch may indicate binding at the nut or a hardware issue. Turn each tuner through a useful range, checking for abnormal looseness, uneven resistance or movement at the mounting points. The objective is not to describe a subjective “premium feel”; it is to identify repeatable function.
Play open chords, single notes and a short passage in several neck positions. This is where measurements meet the intended user. A guitar can meet one numerical target yet remain unsuitable for the customer group because of neck feel, balance, control access or unexplained noise. Write observations in specific language: “volume control produced intermittent output near the lower end of travel” is actionable; “electronics not good” is not.
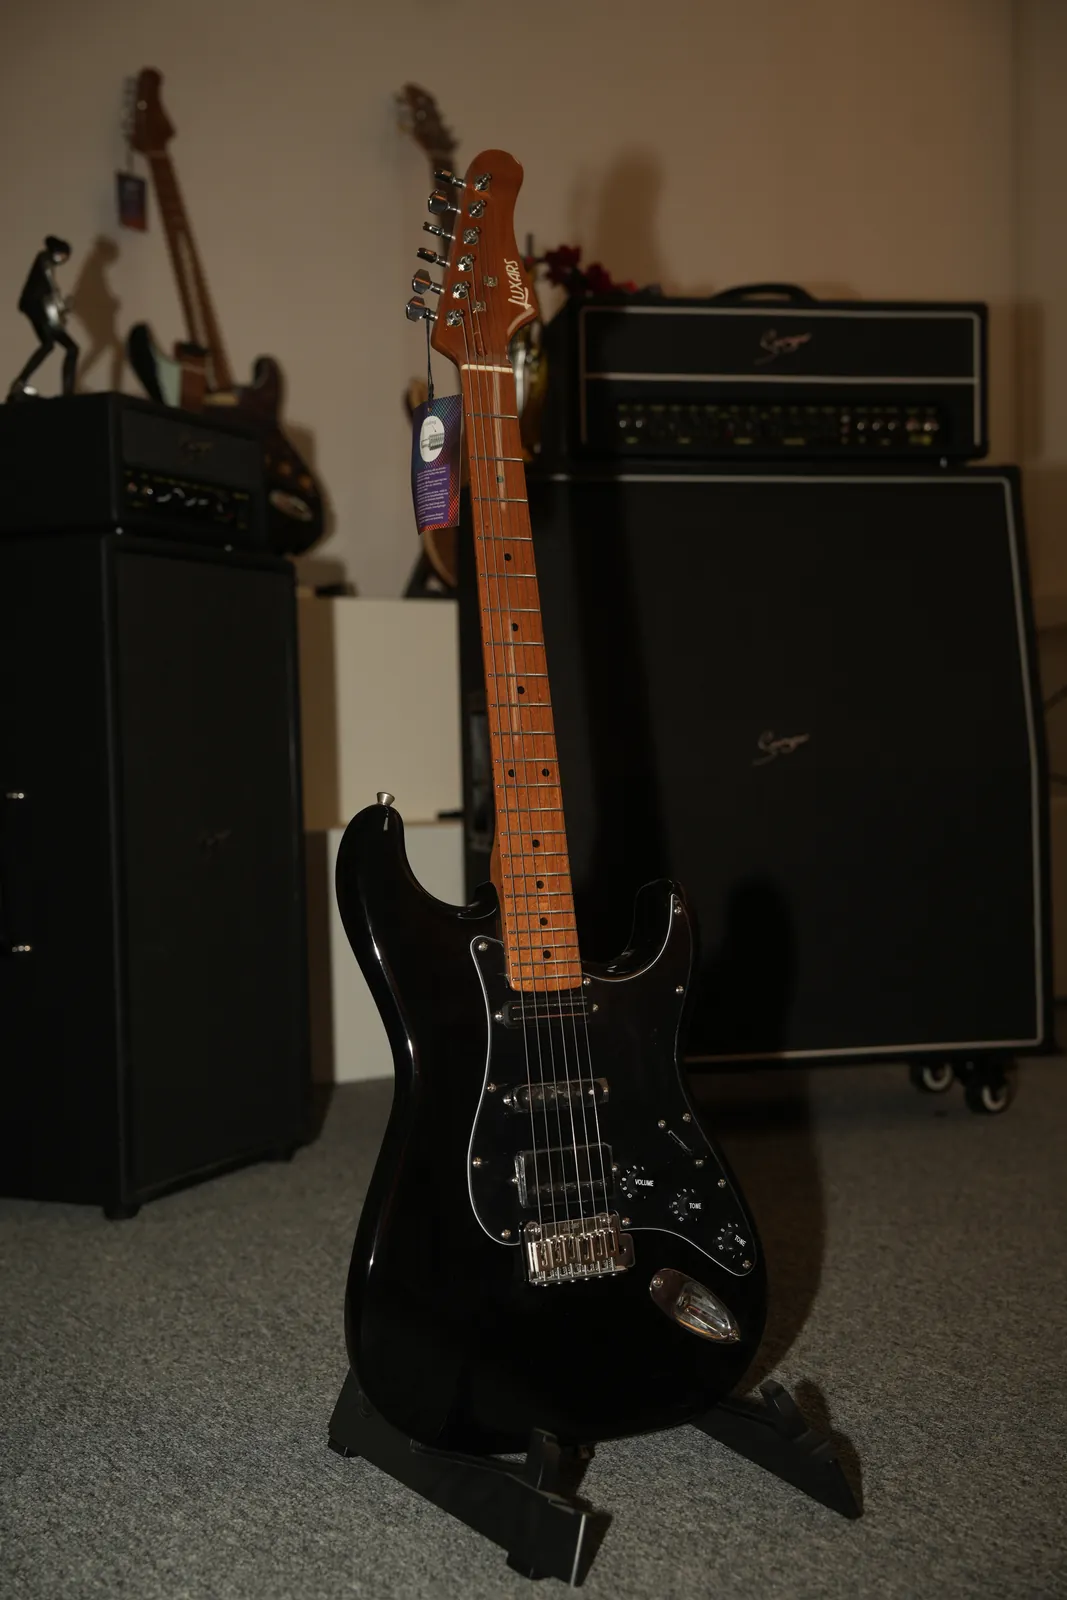
Add category-specific functional tests
Acoustic and classical guitars
Confirm the string type and intended tuning before testing. Listen for rattles that may come from loose hardware or an internal component. Check the bridge, saddle and nut visually; review body and neck alignment; and play across the dynamic range expected for the model. If the guitar has a pickup or preamp, test it as an electro-acoustic instrument as well as acoustically.
Natural instruments will not sound identical in every detail, and appearance can vary with wood grain. Approval language should separate acceptable natural variation from a change in material, colour or construction. If the product is intended for a school or beginner program, include the teacher, retailer or technician criteria that matter to that use instead of relying only on an experienced player's preferences.
Electric guitars
Connect the sample through a known cable to a suitable amplifier or test system. Test every pickup selection, volume and tone control, output jack and any coil-split, active circuit or onboard function. Move the cable gently at the output to identify intermittent connection without forcing the jack. Listen for dropouts, scratchy controls and abnormal noise, while recognizing that some background noise depends on pickup design and the electrical environment.
Check bridge and tremolo operation only within the intended use of the design. Confirm that detachable parts such as a tremolo arm are included or clearly listed as optional. If a battery is required, the specification should state the type and whether it is included.
Review finish, colour and branding without relying on screens alone
Colour is one of the easiest details to miscommunicate. Screen calibration, lighting and camera processing can all change its appearance. Review the physical sample in neutral light and photograph it with a repeatable setup. Use a finish code, approved swatch or clearly identified reference sample where possible.
Inspect the transition between painted, stained, natural and bound surfaces. Look at corners, cavities, neck joints and hardware edges where finish issues can be less visible in a front photograph. Define which small natural or process variations are acceptable and which would affect saleability.
Branding should be checked as a production field, not only as decoration. Confirm logo version, size, placement, orientation and colour. Review model labels, serial or batch fields, compliance labels and carton marks only against approved artwork. Do not approve confidential or regulated marks informally through a low-resolution chat image.

Inspect package contents and shipping preparation
The sample approval is incomplete if the guitar is approved but its package is not. Confirm the inner protection, bag or case where included, accessory compartment, loose parts, manual, tools, cable, spare items, product label and carton marks. Small components should not be able to move against the instrument and scratch the finish.
Close and reopen the package using the intended packing sequence. Check whether pressure is placed on the headstock, controls, bridge or other vulnerable points. The instrument should be restrained without excessive force on the neck or body. If the package will change before a bulk order, state that the present package is provisional and require a separate packaging approval.
This is also the point to decide which images and data can support an online listing. The photographed sample, published specifications and package contents must describe the same configuration. Link this approval record to the LuxarsMusic guide on product images and listing data so the sales team does not rebuild the facts from memory.
Turn observations into an approval decision
Use a defect and decision log rather than a long, unstructured message thread. For each point, record the location, observation, evidence, requirement, owner and status. Classify it according to the decision it requires, not according to how strongly someone feels about it.
| Decision status | Meaning | Next action |
|---|---|---|
| Approved | The identified feature matches the agreed reference | Freeze the detail in the approved record |
| Approved with recorded adjustment | A defined setup correction produced the accepted result | Keep before-and-after values and state the production requirement |
| Correction required | The product direction remains acceptable but a specific issue must be corrected | Request evidence or a revised sample for the named point |
| Open information item | The sample cannot prove the specification or commercial detail | Obtain written confirmation before order approval |
| New sample required | The issue changes construction, function, appearance or market suitability | Review a clearly identified revised sample |
The final approval note should name the sample revision, specification revision, approved finish and package status. It should list unresolved items and say what evidence will close them. “Approved except for earlier comments” is risky because earlier comments may conflict or refer to another version.
Review a Sample With Clear Requirements
Preparing a guitar sample review for your market? Send LuxarsMusic the target category, customer group, sales channel and the product points you need to confirm. We can help organize the relevant model information before the next discussion. Send Your Requirements through the inquiry form, WhatsApp +86 13620576554 or info@luxarsmusic.com.
Common sample-approval mistakes
The most common mistakes are procedural rather than dramatic:
- approving from photographs without identifying the physical sample;
- changing setup before recording the as-received condition;
- using subjective comments without a location or acceptance criterion;
- copying setup numbers from another guitar design;
- testing one pickup position and calling the electronics approved;
- approving colour from one screen image;
- leaving accessories and packaging until after the instrument is approved;
- mixing comments from several sample revisions;
- assuming that an unverified material or component is what the photograph appears to show;
- accepting a correction promise without updating the controlled specification.
A short checklist used carefully is better than a long checklist completed mechanically. The review should focus on details that change function, product identity, customer expectations, listing accuracy, shipping protection or the ability to reorder the same configuration.
Frequently asked questions
What should a wholesale buyer inspect first on a guitar sample?
Confirm the sample identity and the document version first. Check the model code, category, finish, configuration and package contents against the latest specification and quotation. Technical testing is less useful if the team cannot prove which sample was tested.
Should a guitar sample be adjusted before approval?
Setup adjustments may be normal, but record the as-received condition first. Note the original and final measurements, the change made and who performed it. If extensive work is needed to reach the expected result, decide whether the sample still represents the product that would be supplied.
Is there one correct action height for every guitar?
No. Suitable action depends on guitar type, scale, strings, tuning, player needs, neck relief and fret condition. Agree the measurement point and acceptable range for the specific model. Avoid using an unrelated manufacturer's number as a universal acceptance rule.
Can photos confirm guitar materials?
Photos can show appearance, grain and visible construction, but they do not reliably prove species, grade or solid-versus-laminated construction. Confirm material claims in the controlled product specification and make sure the same wording is used in sales content.
When is a revised sample necessary?
Request one when the proposed correction changes construction, neck geometry, hardware or electronics configuration, finish direction, branding, package structure or market suitability. Minor documented setup corrections may not require a full new sample, but that decision should be explicit.
What should the final sample-approval record contain?
Include the sample and specification revisions, dated photographs, measurements, functional-test results, approved finish, branding and package status, all corrections, open points and the final decision. Name the person or team responsible for closing each open item.
Conclusion
A reliable guitar sample approval does not depend on a long list of impressive claims. It depends on a repeatable comparison between the physical instrument and the information that will control the order. Confirm identity, record the arrival condition, inspect construction and finish, measure setup as a connected system, test every function, review packaging and document the decision.
That process gives purchasing, product, sales and receiving teams the same reference. It also makes later shipment inspection more useful because the inspector knows what was actually approved.
Start a Product Review
LuxarsMusic has worked with guitar product and channel requirements since 2016. Tell us your market, sales channel and the acoustic, classical, electric or accessory categories you are evaluating. Get a Quote or ask for relevant product information through the inquiry form, WhatsApp +86 13620576554 or info@luxarsmusic.com. Current commercial terms and order details are provided privately, not as public retail prices.
Sources and further reading
- Fender, “How to Measure Neck Relief on Guitar or Bass”
- Fender, “Intonation 101”
- Fender, “What Is Action and How Low Can It Go?”
- LuxarsMusic, “How to Evaluate Guitar Specifications Before Placing a Wholesale Order”
- LuxarsMusic, “Product Images and Listing Data for Online Guitar Sellers”
Related Buyer Guides
Continue your review with our guides to guitar specification review, product images and listing data, choose the right guitar category.
 English